
Last Updated on 12/27/23 by Rose Palmer
 This story has received an Honorable Mention in the annual Society of American Travel Writers Lowell Thomas competion in the Service Oriented Consumer Work category. This is the premier awards recognition for American travel journalists.
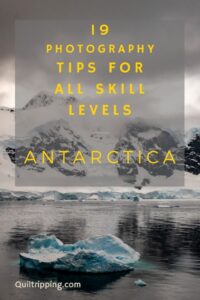
You’ve just booked and paid for that top bucket list trip to Antarctica. It will be your dream trip come true and you want to make sure you come home with the best possible Antarctic photos along with all those special memories.
Antarctica really is at the end of the world, though you won’t fall off the edge getting there. It takes quite a bit of time to travel so far south and any trip, whether it’s on a big cruise ship or on a smaller expedition cruise, is pricey.
For the majority of travelers to Antarctica, photos of this once-in-a-lifetime experience will be an important aspect of their journey. Even if you are not a “photographer” you will want to come back with photos you like and that accurately reflect what you saw.

On my recent Antarctica cruise on the Sapphire Princess, I saw a broad variety of photo taking, from cell phones to small point and shoot cameras to large motor driven DSLR’s with humongous lenses.
I also saw people using their cameras wrong and more than once I was asked questions about how to use a camera setting. I also saw people getting frustrated because they couldn’t get the photos of the spouting whales or the fast swimming penguins in the distance.

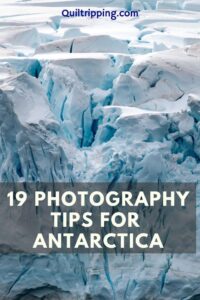
Based on these experiences, I have put together these Antarctica photography tips. Whether you choose to use a cell phone, a point and shoot, or a DSLR type camera, I think you will find something useful in this list of easy tips for Antarctica photography to help you take images you will be proud of.
Photographing in Antarctica
1. What type of camera should I use for Antarctica photography?
Usually, the first question about how to get the best Antarctica photos is “What type of camera do I need?” or “Is a cell phone good enough or do I need a big, fancy camera?”

My answer is: the best camera is the one that you are comfortable using.
Today’s cell phones have come a long way and can take wonderful photos, especially in low light conditions. A cell phone will give you landscape shots you will be happy with, and if the animals are close and not moving fast, you can do good wildlife photography as well.

But, trying to capture a moving whale in the distance, or swimming penguins porpoising through the waves may be a challenge. The shutter response time for your cell phone will probably not be fast enough or you may not be able to zoom in close enough. But if this is what you rely on for photos and don’t want to lug a whole lot of camera gear you don’t know how to use, that’s fine. Just be aware of the limitations.

A ”big, fancy” camera with interchangeable lenses like a DSLR or a mirrorless camera will give you more flexibility on the types of photos you can take. It will also be a lot more equipment to carry, it will cost more, and will not necessarily give you better photos if you don’t know how to use your new toy (see tip #2).
2. Learn to use your equipment
The camera is just a tool. It is not the camera that creates a good picture – it is the person using the camera.

Whether you are using a cell phone or DSLR type camera, make sure you know how to use all the functions before you leave for Antarctica. Even cell phones today offer a lot of functions and customizations beyond just point and shoot.
For example, learn how to control your phone camera exposure to under or over expose if needed. If there is a lot of snow and ice, or just not a lot of contrast, your phone camera’s sensor may have a hard time with the exposure. You will want to know how to compensate.
If you have a DSLR type camera, take time to learn how to use all the settings before you leave home. This environment is not the time to rely on the camera’s Auto settings.
Another example. On my Antarctic cruise I saw someone using a DSLR with a long telephoto lens with the camera flash going off as they were trying to get photos of seals sitting on rocks in the distance. They were clearly shooting in Auto mode and because it was overcast and they were zooming in on the subject, the camera sensor wasn’t getting enough light and set off the built in flash. A small camera flash like that is only good for 5-10 feet at most and will do nothing to help expose a subject that is a hundred feet away. In fact, it will result in the wrong exposure for those conditions.
If using a DSLR type camera, learn what aperture priority and shutter priority are and when to use each. Learn about ISO, f stop and its relationship to depth of field, and shutter speed, and how these three are related to each other. Learn about exposure compensation and how to use it.

Buy a guide book for your camera (or cell phone) written in plain language (not the technical stuff usually found in the owner’s manual) and read it – more than once. Practice, practice, practice before your Antarctica trip with all sorts of lighting conditions and you will be able to take photos you love.
3. Bring a back up camera, or two
A trip to Antarctica involves a lot of time and money. For those that make the journey, it truly is a trip of a lifetime. Few people visit Antarctica and even fewer go more than once.

Yes, you will have your memories, but let’s face it, you also want photos to share and show off.
What happens if for some reason your phone breaks or it falls out of your hands into the deep blue sea because you got knocked off balance as a rogue wave hits your boat or zodiac? It happens. You will be far away from everything so buying a replacement is not an option.

Many years ago, towards the beginning of a trip to Rome, I tripped and fell as I was stepping down from a curb onto an uneven cobbled street with my DSLR in my hand. Fortunately, I was fine, but my camera was not as it hit the rock hard ground with full force. I used my cell phone to take photos from that point on, but I was never really happy with the images (this was in the early days of cell phones) and I will most likely never have those same experiences again. So now I always travel with two cameras.

For my Antarctica photography cruise, I took two DSLR bodies, two lenses, and my cell phone and I used them all – a lot.
4. Bring back up memory
You WILL take a lot of photos, more than you think you will. It can’t be helped. The scenery is beautiful and unique and as the weather changes so does the lighting. You will want to capture it all. Better to go home with too many Antarctica photos than to wish you had taken more.

If you are using a cell phone, make sure you have enough memory before you leave. On my phone I have the option to also add an additional micro SD card. I use a 128 GB card to maximize my storage options so that I can take as many photos and videos as I want without worrying about having enough space. Then I download them when I get home so I have room for more photos on my next trip.

For my DSLRs I always travel with 3-4 additional blank memory cards – because even new cards sometimes malfunction. In this case, I had two spare 400 GB cards and two 128 GB cards. This is my usual practice when I travel, not just in Antarctica.
5. Have a way to back up your photos
Do not expect to be able to back up your pictures of the Antarctic to the cloud while you are on an Antarctica cruise. There will be a lot of clouds, but not the digital type. My internet connection was minimal while I was there – I could only use WhatsApp and read my Gmail, and I was surprised that I could even do that much.
Again, cell phones break or are lost, and camera memory cards fail. Recently, my daughter’s cell phone reset itself to factory settings for no known reason and she lost 6 months worth of photos of her new puppy (which were not backed up in any way) – she was devastated.
I travel with a small laptop and a compact 1 TB external hard drive. I copy the photos from my cameras and my cell phone to the external hard drive. Ideally, I should do this every night (but I don’t always get to it), but I do it regularly during a trip.

I also keep all my original camera memory cards, even after I have copied photos to external hard drives in triplicate once I get home (I learned the hard way that even external hard drives fail). Memory cards are cheap now, so I just use a new one for every trip.
6. Bring extra batteries – more than you think you need
The cold temperatures will drain your phone and camera batteries more quickly. You probably already travel with a backup external battery for your phone. Keep it charged and keep it on you. There is nothing worse than having your phone die just as you want to take that special picture – it’s happened to all of us.
For DSLR users, carry 2-3 extra batteries for each type of camera body that you bring with you. Both of my camera bodies are the same so I can use the same batteries in each. I have a total of 6 batteries that I take with me, though not all will always be on my person.
Usually, I have two batteries in the cameras, two in the charger getting juiced up, and two spares in my pocket.

Take advantage of down time in between excursions, landings, or scenic cruising to charge all your batteries (phone, camera and you as well – the cold will also drain your energy). A photographer standing next to me on deck could not take photos as we were cruising through a very scenic channel despite having three cameras because all his batteries had died midway.
7. Protect your equipment!
Expect rain, snow and salt water spray to land on your photo gear, none of which is good for any electronics. Not to mention that a water spot on the lens ruins a great photo.

Make lens cleaning cloths your best friend. I usually carry one or two in my pocket and use them frequently. Note that they do not work once they are wet which is why having more than one in this environment makes sense.
If you are going on a zodiac, think about keeping your equipment in a small dry bag until you are on land. I find that a dry bag like this which is designed just for DSLR cameras works well for me.

Another trick is to put your camera into a Ziplock bag as you move from a cold to a warm environment, or vice versa. Squeeze the air out of the bag and then let the camera temperature equilibrate slowly to the outside environment so that you avoid condensation on the sensitive electronics.
8. Learn and use the basic principles of composition
As I said, the camera is a tool. It’s the person that takes a good photo. People have won awards for photos taken with cell phones (including me). It pays to take a little time to learn some of the basics of good composition.

I won’t cover it all here – there are plenty of good instructions on the basics of photography composition on the web. Focus on using elements like the rule of thirds and leading lines and your photos will improve.
Also pay attention to the edges of your frame so you don’t have odd bits showing up to distract from your main subject. And keep those horizon lines straight.
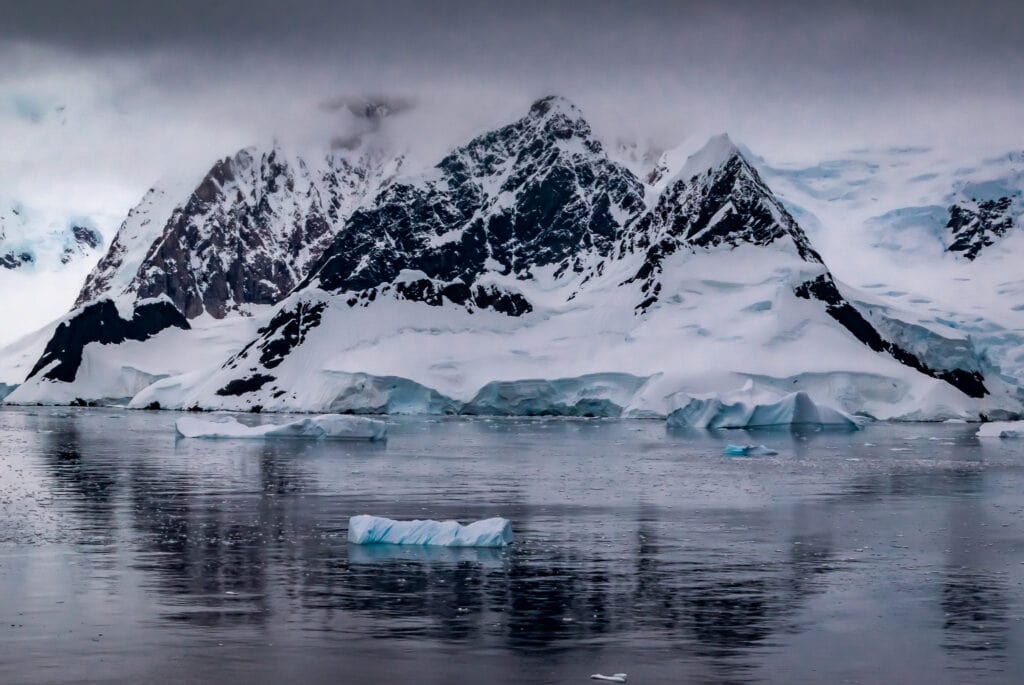
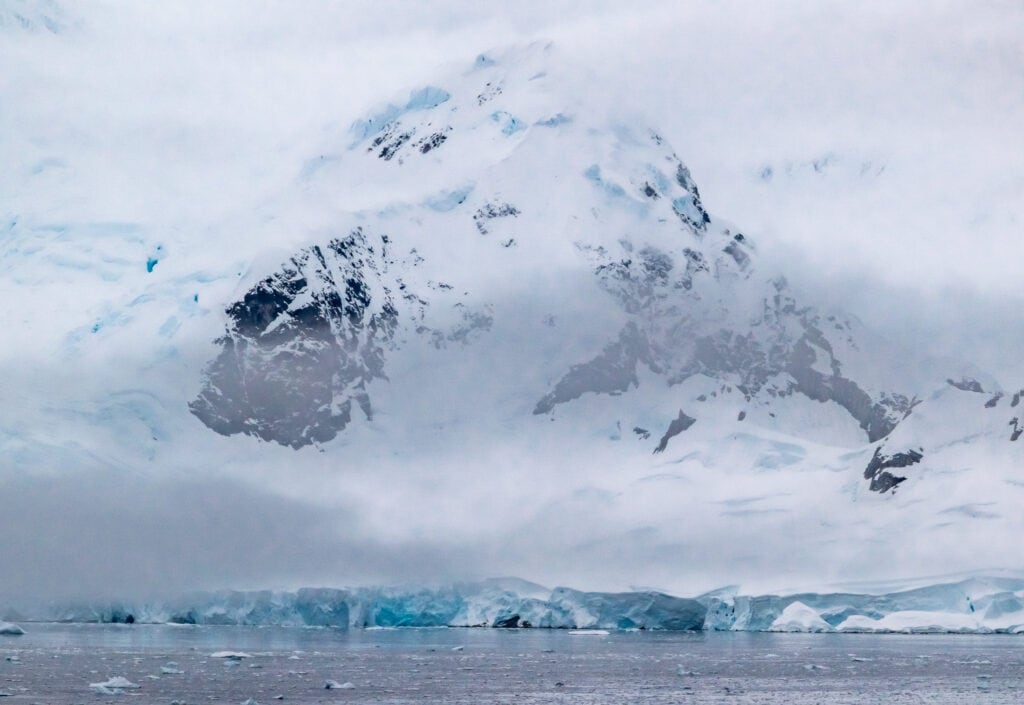
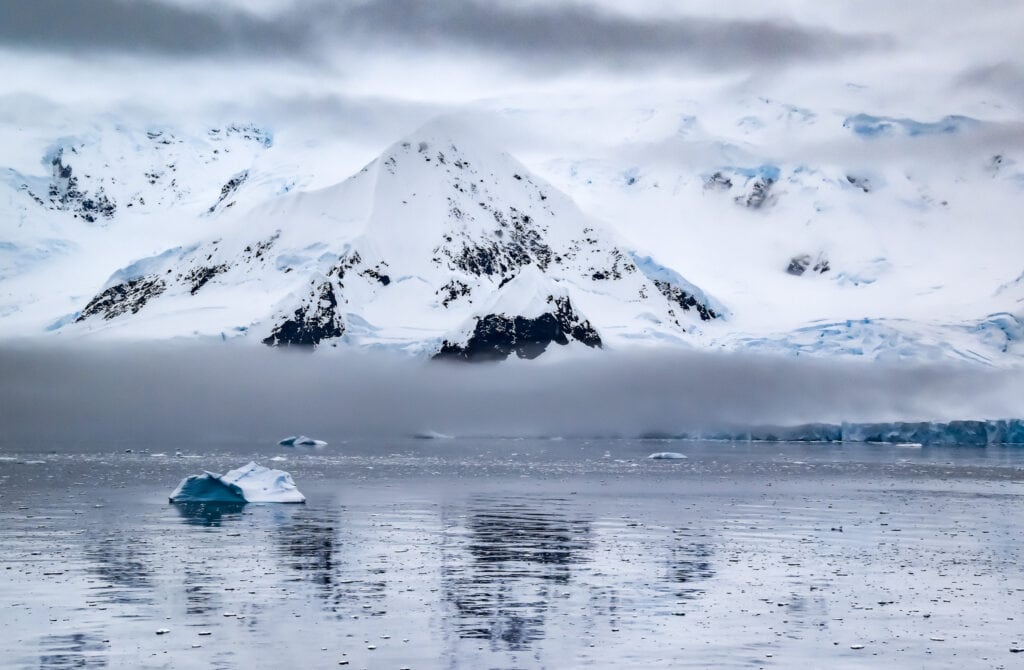
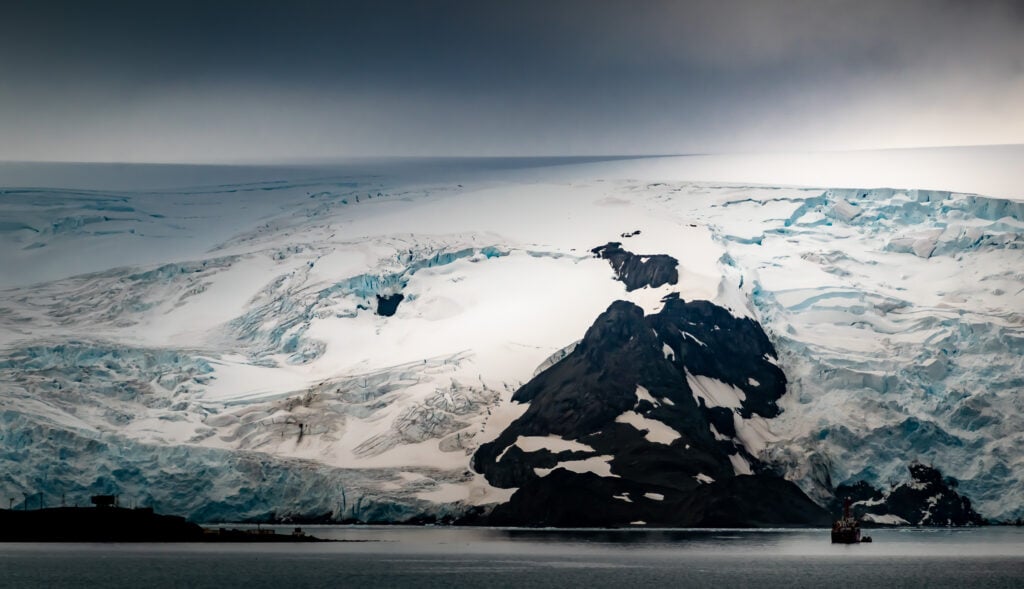
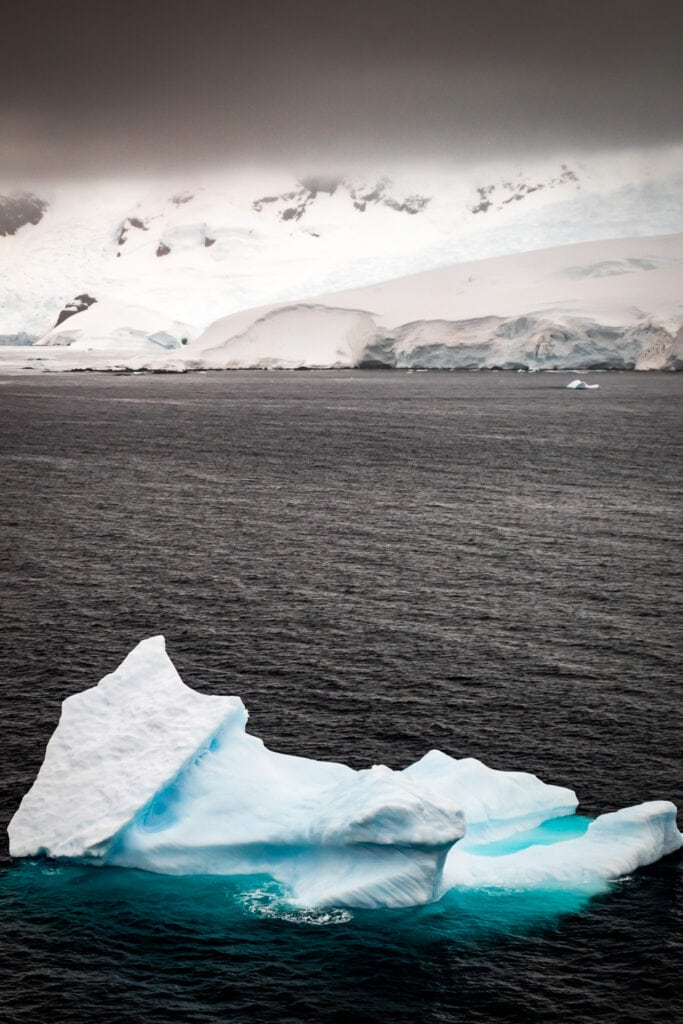
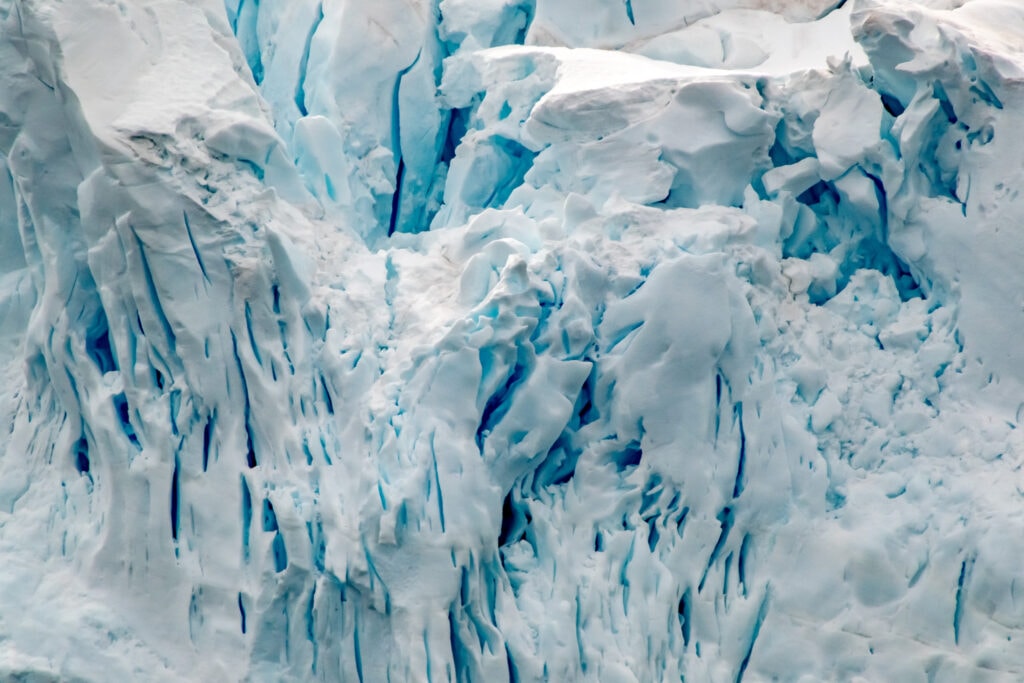
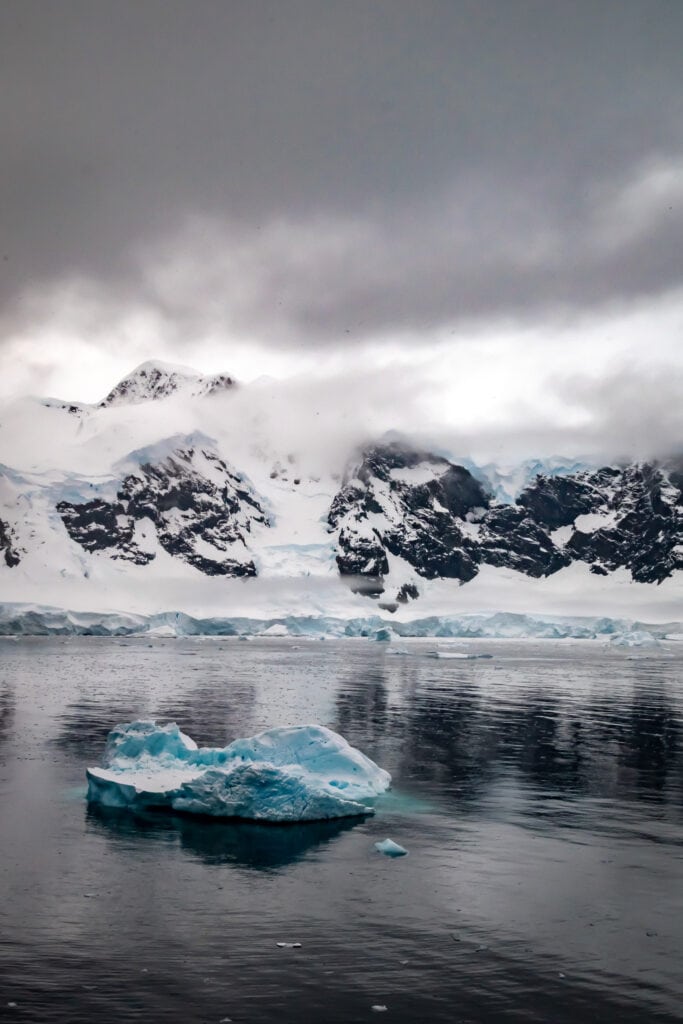
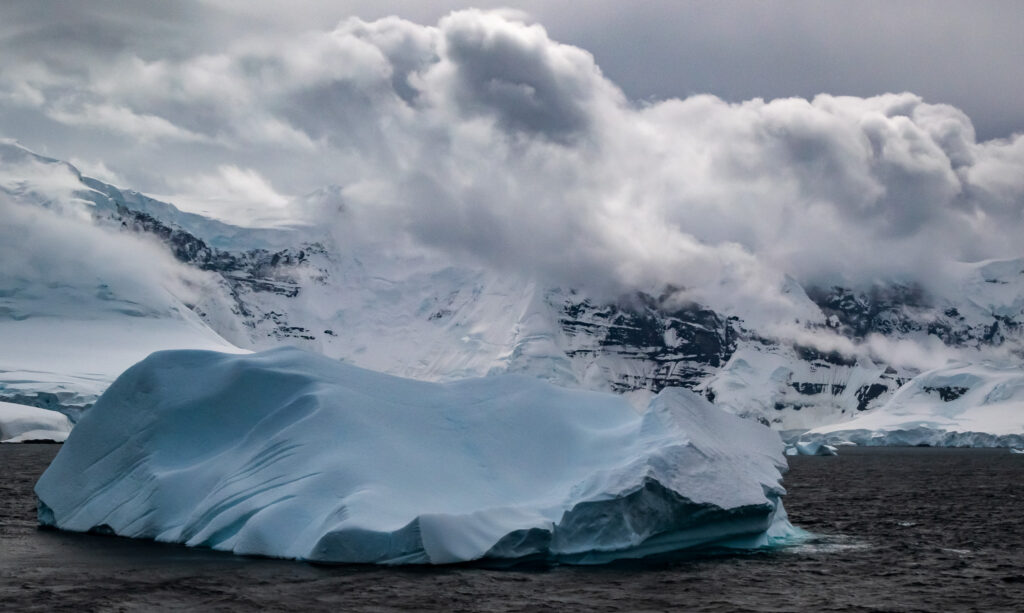
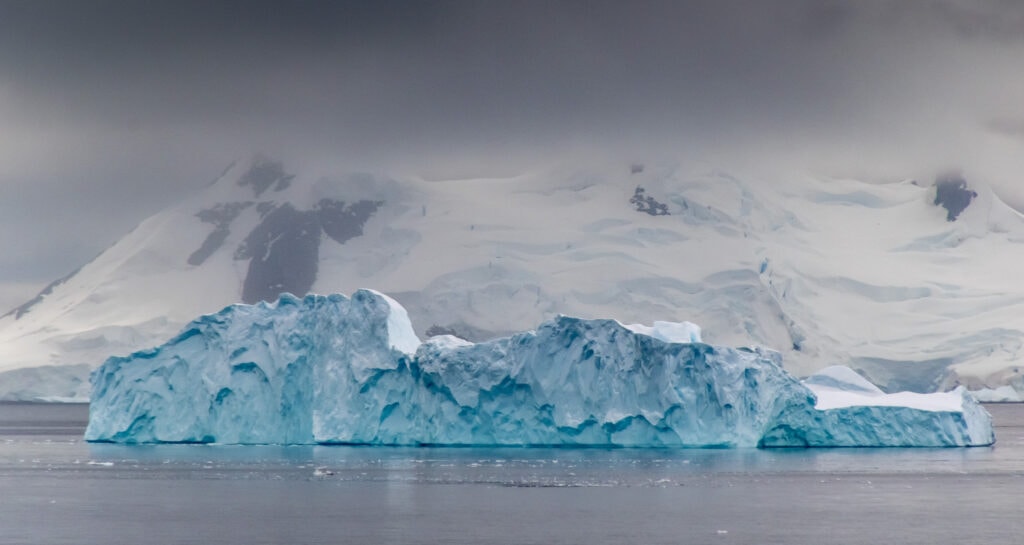
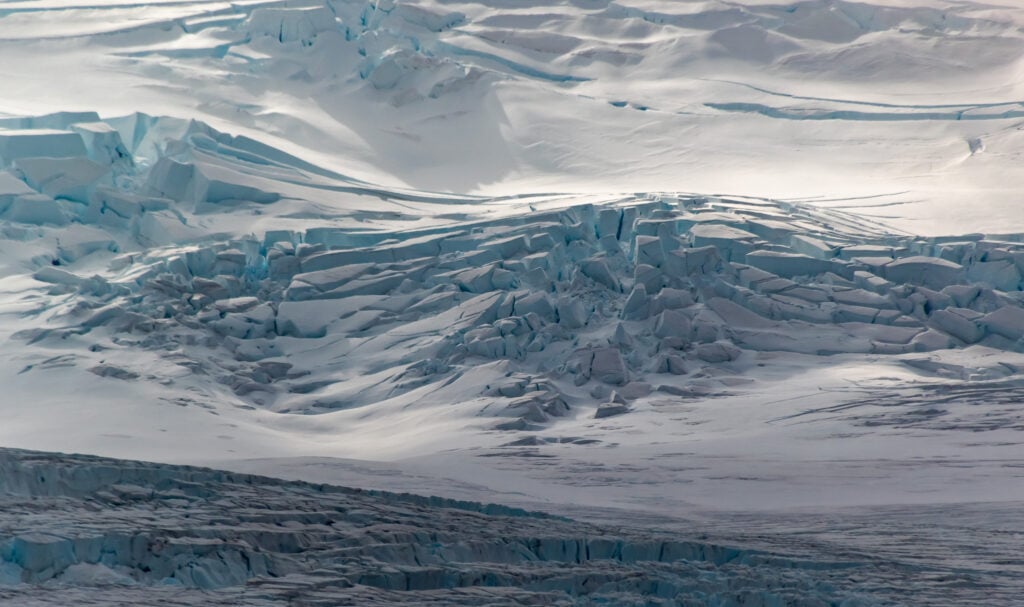
Don’t forget about scale. This is especially important in Antarctica landscape photography where there are often no points of reference anyway so you really can’t tell how far that glacier is or how big the mountain is. If there is a boat or a bird in the scene, use that to your advantage to show your audience just how big the scenery really is.
Finally, remember to include people in your photos, especially in the landscape photos. This is something I always have to remind myself of. I know you are here to see the scenery, but besides adding a sense of scale, people also help to make the photo personal.
9. Get different perspectives.
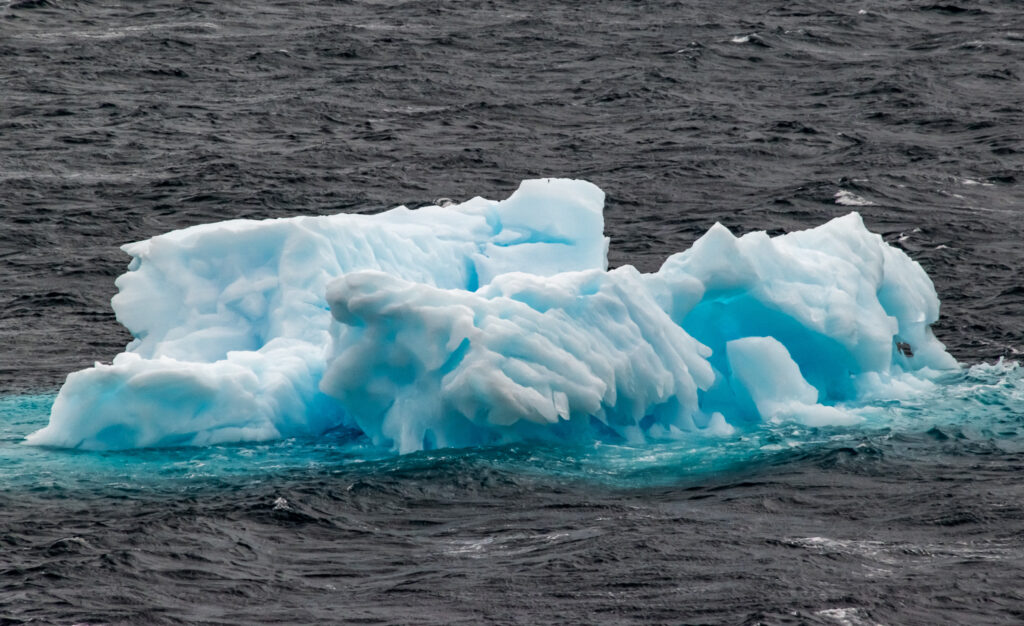
My trip to the Antarctic peninsula was on a big cruise ship, so in my case I would take photos of an iceberg from deck 8 looking almost straight at it, and then go up to deck 16 to photograph it from above. By looking down on the iceberg I could also see and photograph the portion of the berg that was under the water.
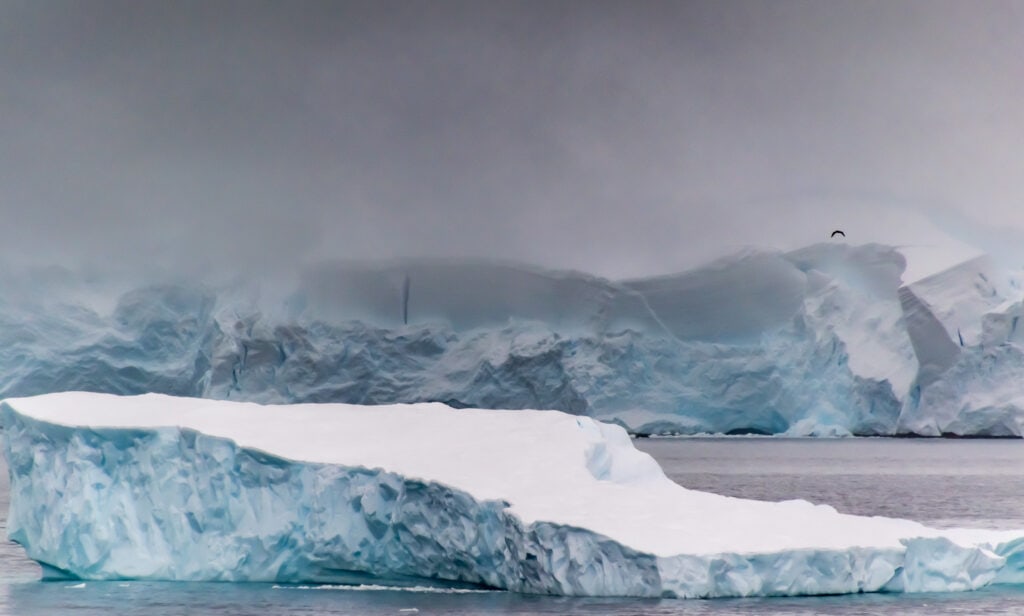
Get the wide angle shot to show the whole scene, but then also zoom in on the details. Mother nature makes beautiful ice sculptures.
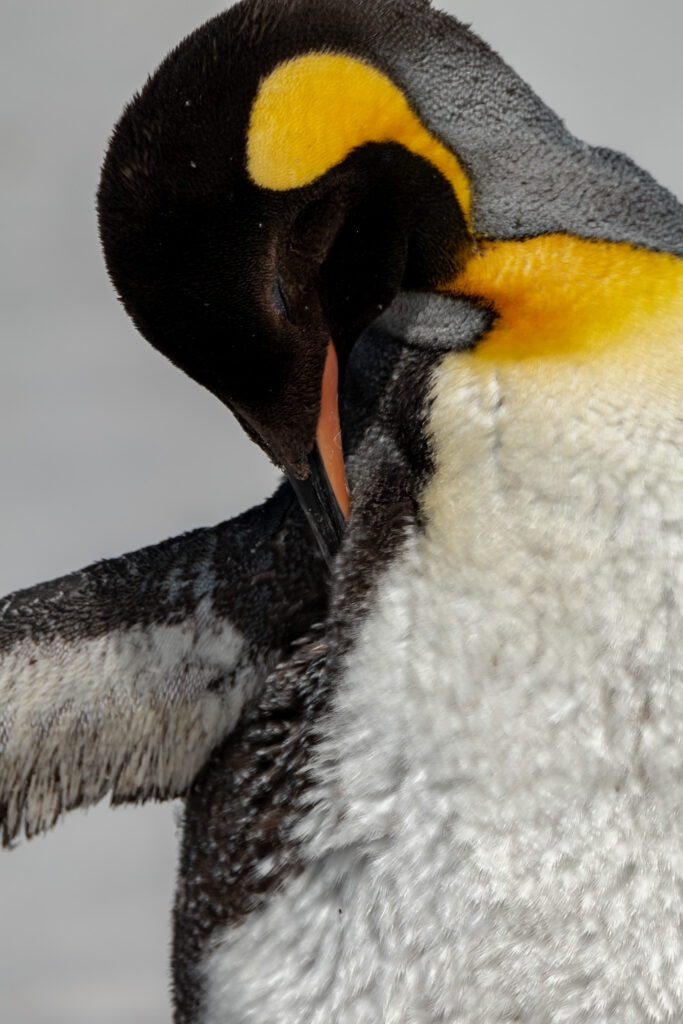
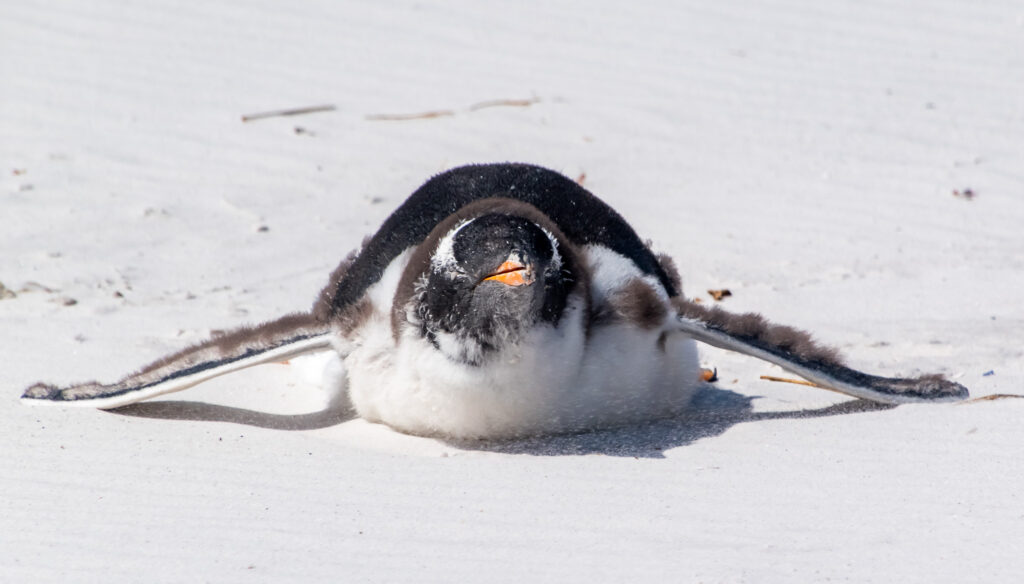
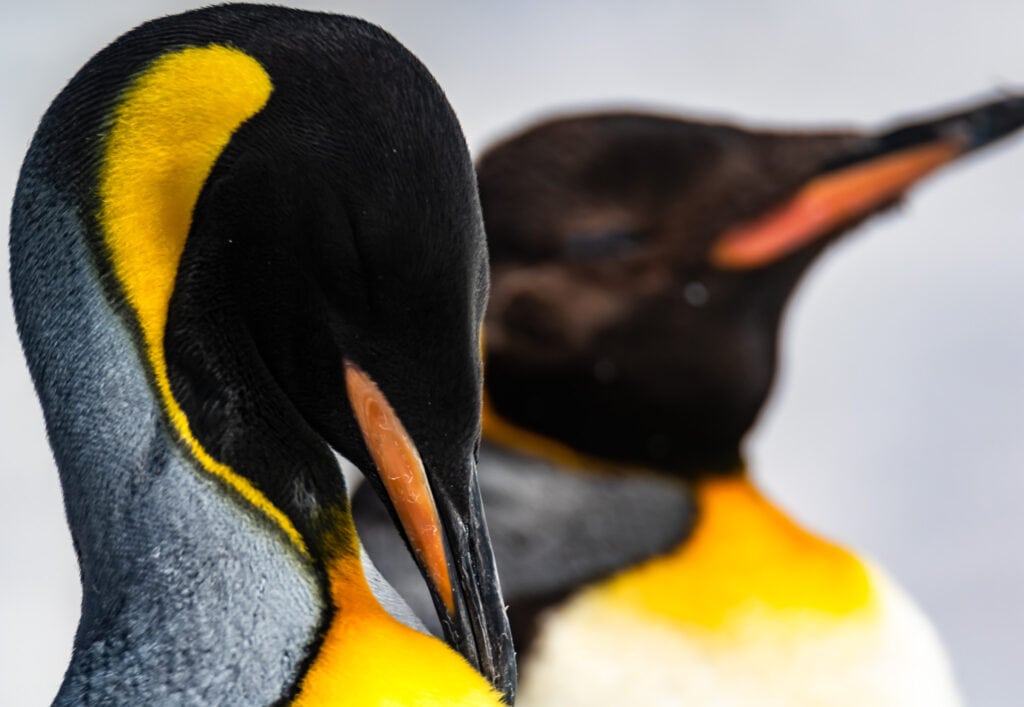
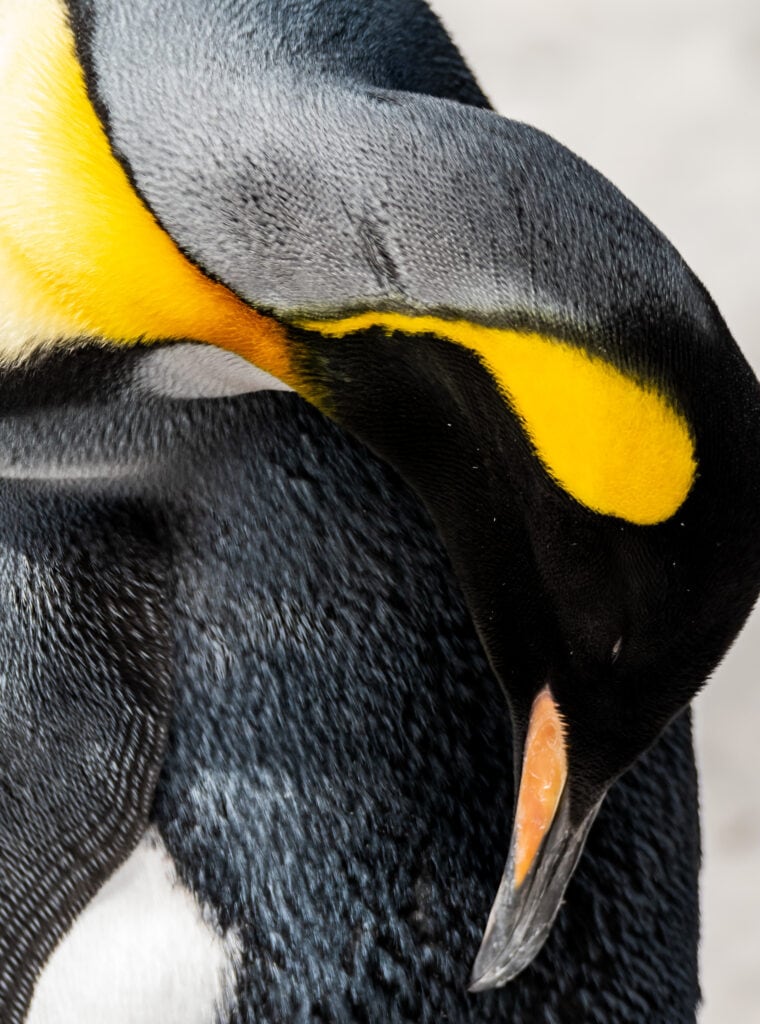
If you are photographing penguins or other Antarctic wildlife on land, take that wide scenic shot showing how big the colony is. But then also get down to their level, or even lower to show the view from their perspective.
Also, remember to shoot in both landscape and portrait orientations. When all you see are big, wide, open vistas, it feels natural to hold the camera in the horizontal position. But a vertical photo will focus in on one aspect of a mountain or glacier and its relation to the sky and the water.
The same is true for wildlife photos. A horizontal close up of a seal or penguin will also include some of its environment making a more interesting image.
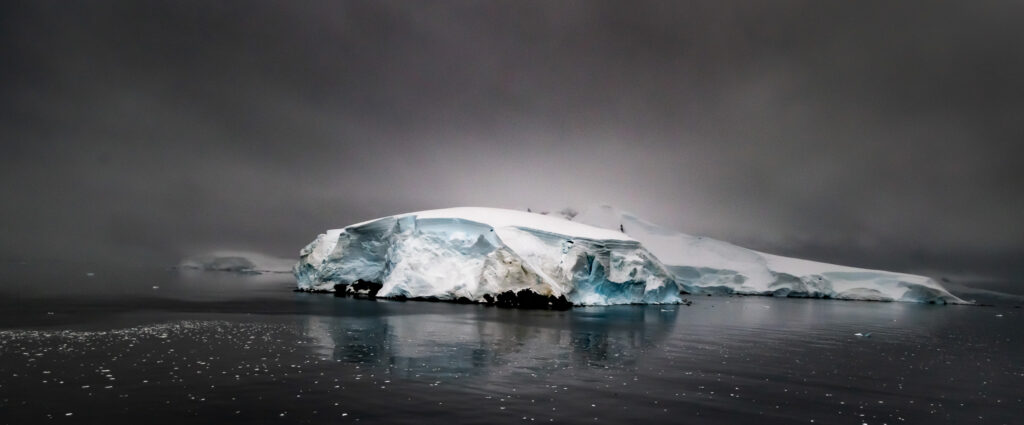
10. Turn your photos into black and white Antarctic landscape images
Antarctic photography can be challenging. During my time there, it was mostly overcast, and the predominant colors were white, lots of shades of gray, black, and occasional hints of blue in the ice.

Turning the photos into black and white pictures means I can emphasize the contrasts and the drama in the scenery and make the whites crisper and the blacks deeper.

The next set of tips are geared more for those using DSLR type cameras with interchangeable lenses.
11. What are the best lenses for Antarctica photography?
First of all, this is not an environment where you should be changing lenses out in the open. Cold, rain, snow, and salt spray are enemies to both your lens and the mechanics inside your camera.
You will also want to be able to switch easily from taking a wide angle photo of three glaciers side by side to zooming in quickly when you see a whale coming to the surface or a pod of penguins swimming alongside the boat.

I suggest a general all purpose wide angle z00m lens and a telephoto zoom lens. Because I was on a large cruise ship that did not get that close to land, I found the zoom lenses to be very useful.

I used two separate camera bodies, both Nikon D5600. One had a Tamron 16-300 mm lens which is my all purpose travel photography lens. The other had a Tamron 150-600 mm zoom lens which I used to get up close images to the scenery and the wildlife.
12. Use a polarizer
For outdoor photography I always like to use a polarizer. In Antarctica I think it is critical. With all that water, snow, and ice, there is a lot of reflected light. A polarizer will reduce the glare and will provide more saturated colors, when there is some.
13. Do you need a tripod for Antarctica photography?
It depends. I know, that’s an ambiguous answer.

You will not want to use a tripod on the deck of a moving ship or a zodiac for long exposure photography for obvious reasons. But, if you are using a big, heavy lens, holding it or carrying it over your shoulder for long periods of time can be tiring. This is where a tripod can help, though you will still need to use a fast shutter speed to account for the boat’s movement.
14. What camera settings should you use in Antarctica?
Normally I shoot in aperture priority mode, especially landscapes. But since I was going to be photographing from the deck of a moving ship, I switched to shutter priority.

The rule of thumb is that the shutter speed should be faster than the focal length of your lens. My all purpose lens has a maximum focal length of 300 mm, so I set my shutter speed to 1/500 seconds. Then I adjusted my ISO so that I could get a reasonable f stop (400 to 800 depending on light conditions). Since in general I was focusing on infinity, I was not worried about depth of field, so a lower f stop was ok in this case.

For my big zoom lens, the max focal length is 600 mm, so I set the shutter speed to 1/1000 sec (or 1/1250 sec if the ship was moving a little faster). At its highest focal length this lens is not very fast, so to compensate I used a higher ISO (640 to 1000 depending on light conditions). My primary concern was to get a sharp image despite the moving deck under my feet while trying to hold a big zoom lens steady.

You will want to use the settings appropriate for you camera and lens combination, balancing shutter speed, ISO and f stop in order to get the sharpest image possible at a good exposure.
15. Bracket, bracket, bracket
If the images are important to me or if the lighting conditions are challenging, I bracket my photos. This means that for each picture I take, the camera will take three photos at three different exposures.

You can decide what your bracketing settings should be based on the subject and the light conditions. For my Antarctica photos I used a 0.3 f stop increment: one photo was at the “correct” exposure, one was slightly underexposed, and one was slightly overexposed. At these settings I can easily adjust for the exposure in post processing, so with three photos of one subject I am assured that at least one is good.
Yes, this is a lot of photos. I already take a lot of photos, so this is three times a lot of photos which is really a lot of photos. But as I like to say, it’s only electrons on an SD card – one reason I use 400 GB memory cards.
16. Use your camera’s histogram settings
If you don’t already look at the histogram of your photo when you take it, this is the time to start learning how to do this. The contrast in the scenery here is in the extremes – either high or nonexistent. With all the white ice and snow, it is easy to blow out the brights with incorrect exposure.

Use the histogram to fine tune the camera settings before you take a lot of photos that will disappoint you (and that will be difficult to “fix” with post processing).
17. Shoot in both RAW and JPEG
The first thing I learned when I switched to digital photography was to save each photo that I took as both a JPEG file and a RAW file.

The JPEG file is the version of the picture you took that the software in your camera produces. This picture will only be as good as the camera’s programing and the information collected by your camera’s sensor. It is also a compressed version of your image data.
The RAW file saves much more information from your camera sensor and is unprocessed – as the name implies, it is the raw digital picture data, and the file size is much larger – another reason for using high capacity memory cards.

You will need a digital photo processing program to use the RAW file – see the next tip.
18. It’s OK to postprocess your photos
If you saved your photos in RAW format, you will need to use a program like Lightoom or Photoshop (or equivalent) to optimize the images. Now you have the control over what the picture will look like rather than the software in your camera (or phone).
This does not mean you won’t create a “real” photo. It just means that you have complete artistic power over how that photo should look and you can make it match what you saw or what you remember (or not – it’s up to you).
When people use digital filters with their photos, this is exactly what they are doing, but they are using someone else’s preset settings to create an image. That’s fine. It’s your picture, make it look the way you want.
19. Have fun and be creative
After taking photos of the scenery, try to also take some creative shots. This is mother nature’s ice sculpture garden that is constantly changing.
I hope you found these photography tips helpful for your dream trip to Antarctica and that they help you capture those special memories.
One final tip
Take time to put down the camera and just breathe in the scenery since this may be your only opportunity to visit this incredible continent.
If you would like to take a cruise similar to the one I did on the Sapphire Princess, please visit the Princess cruises website.
Please note that I received a media upgrade from Princess cruises. All Content is my own.
Other Antarctica stories you may also like:
My favorite photos from my Antarctica cruise: Penguins and Ice and So much More – My Favorite Antarctica Cruise Photos
A detailed review of the Sapphire Princess: Finding My Blue Heaven on a Princess Cruise – A Detailed Sapphire Princess Review With Photos
I wrote all about my cruise to Antarctica: What is a Princess Cruise to Antarctica Really Like
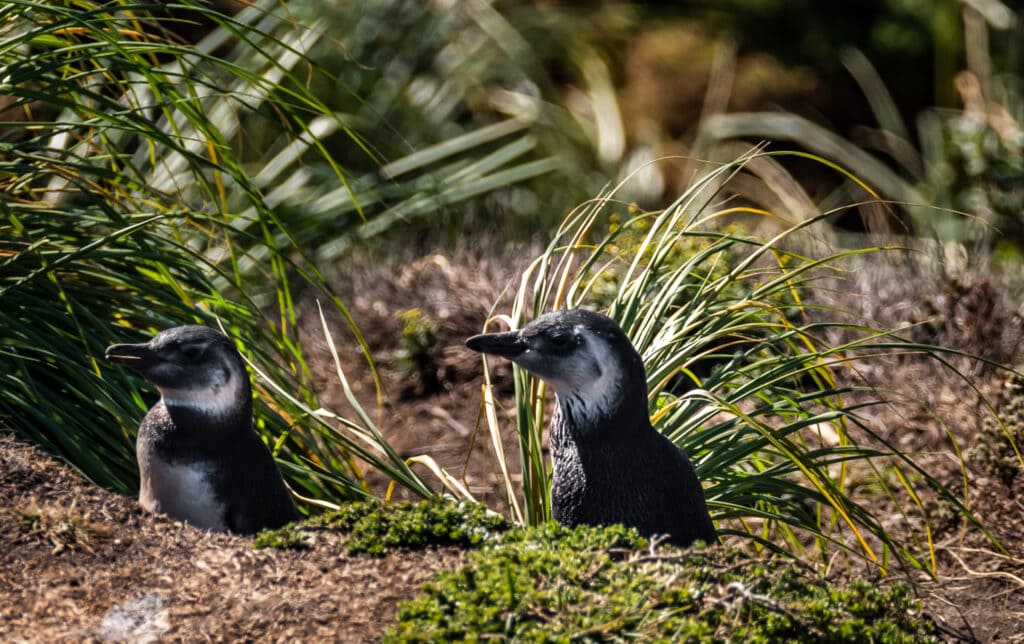
How to see the penguins on the Falkland Islands: An Unforgettable Day With the Falkland Island Penguins
Thanks for visiting.
Rose
Pin this!